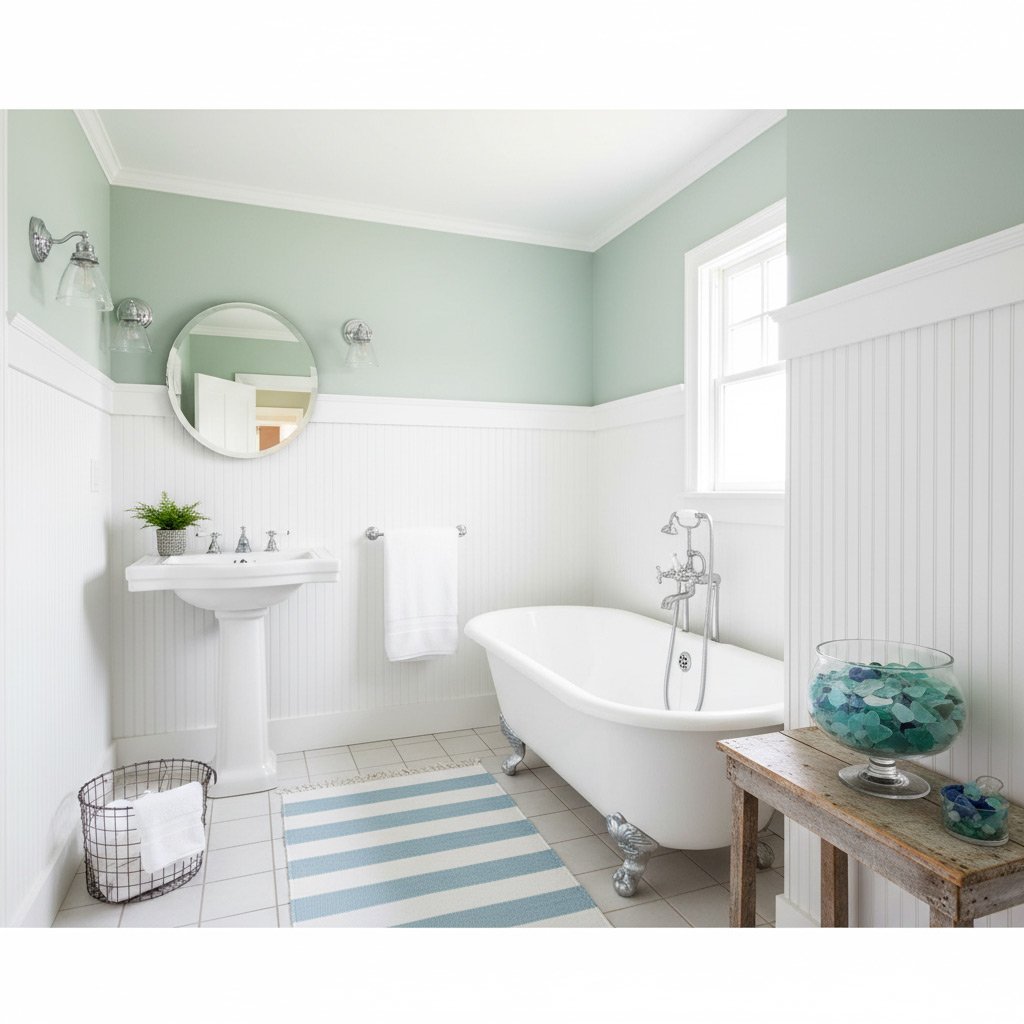
Imagine stepping into a bathroom that feels like a private spa, even though the only thing you own is a tired old tub. That’s the exact transformation a savvy Sacramento homeowner can pull off without breaking the bank.
The city’s mild climate means you can enjoy a steaming rain‑shower any day, and the market’s love for modern upgrades makes it a smart investment. Plus, a sleek shower adds instant curb‑appeal that buyers notice.
We’ll walk you through the demolition, waterproofing, and the little‑but‑mighty fixtures that turn a clunky bathtub into a sleek, steam‑ready oasis. No need for a full remodel—just the right moves and the right materials.
Ready to see the step‑by‑step plan that turns that eyesore into a show‑stopper? Keep reading and discover the exact moves that will have your neighbors asking for the secret.
Assessing Your Space & Budget: Planning the Tub‑to‑Shower Conversion
Measure Twice, Cut Once
Start by pulling out a tape measure and sketching the bathroom’s footprint on graph paper. Know the exact width, depth, and ceiling height where the tub sits, because a mis‑fit shower pan will cost you time and money.
Check for obstacles: vent pipes, electrical boxes, and the location of the existing drain. Mark any low‑lying joists or studs that might need to be shifted before you order a custom base.
Budget Blueprint
Set a realistic ceiling for the project before you fall in love with marble tile. Break the budget into three buckets:
- Materials: shower pan, waterproof membrane, tile, fixtures.
- Labor: demolition, framing, plumbing, tiling.
- Contingency: 10‑15% for surprise code upgrades or hidden water damage.
In Sacramento, permits for a tub‑to‑shower swap typically run $150‑$300. Factor that in, and you’ll avoid a nasty surprise when the inspector shows up.
Demolition & Prep: Safely Removing the Old Tub and Preparing the Framing
Safety First
Turn off the water main and shut off the electricity to any nearby outlets—no shortcuts here. Wear gloves and safety glasses before you even think about touching the tub.
Take the Tub Out
Start by loosening the drain and disconnecting the overflow pipe. A reciprocating saw or a sturdy pry bar will do the trick; work slowly to avoid cracking the surrounding walls.
- Remove the tub in sections if it’s a cast‑iron model—this keeps the weight manageable.
- Watch for hidden plumbing or old caulk that can snag your tools.
- Dispose of the tub according to Sacramento’s recycling rules; many metal parts are accepted at local scrap yards.
Prep the Frame
Once the tub is gone, expose the joists and inspect them for rot or water damage. Replace any compromised joists before you install the new shower base.
Install a new ledger board to support the shower pan, then add blocking where you’ll mount the steam generator and control panel. A level surface now saves you headaches later.
Waterproofing Essentials: Membranes, Drainage, and Local Code Compliance in Sacramento
Why Waterproofing Matters
One leak can turn a spa‑ready shower into a soggy nightmare faster than you can say “mold.” Protect the subfloor and keep the rest of the house dry.
Think of waterproofing as the foundation of your luxury upgrade—if it fails, everything else crumbles.
Choosing the Right Membrane
Two main players dominate the market: sheet‑on‑sheet and liquid‑applied membranes. Sheet systems like Schluter‑Kerdi are easy to seam, while liquid coats such as RedGard flow into every nook.
- Sheet membranes: quick install, reliable seams, perfect for flat walls.
- Liquid membranes: ideal for irregular surfaces, seamless barrier.
- Both require a clean, dry substrate—no shortcuts.
Apply the membrane in overlapping layers, and always double‑check the manufacturer’s recommended cure time before moving on.
Drainage & Sacramento Code Compliance
Sacramento’s building code demands a minimum 2% slope toward the drain and a dedicated waterproofing layer that extends at least 6 inches beyond the shower curb.
Don’t forget the drain assembly—a proper pre‑sloped base paired with a PVC trap ensures water never pools.
- Obtain a permit from the City of Sacramento Building Division.
- Use a drain field that meets the California Plumbing Code (CPC) Section 9040.
- Schedule a final inspection; a signed compliance sheet protects you later.
Choosing Spa‑Ready Fixtures: Steam Generators, Rain‑Shower Heads, and Controls
Steam Generators
Pick a unit that matches the square footage of your new shower—too small and the steam fizzles, too big and you waste power. Look for models with digital temperature control and a built‑in timer; they keep the experience consistent and safe.
- Capacity: 4–6 kW for most Sacramento bathrooms.
- Installation: Requires a dedicated 240 V line and a vent to the outside.
- Features: Auto‑shutdown, aromatherapy tray, and child lock.
Rain‑Shower Heads
A rain‑shower head turns a plain shower into a waterfall. Choose a large‑diameter model (8‑12 inches) for that full‑body drench, and make sure the flow rate stays under 2.5 gpm to avoid water‑bill shock.
- Finish: Brushed nickel or matte black for a modern look.
- Adjustability: Swivel neck or sliding bar for custom angles.
- Installation tip: Mount on a wall‑mounted bar to keep the ceiling clean.
Smart Controls
Integrate a control panel that talks to both the steam generator and the shower head. A single touchscreen lets you set steam time, temperature, and rain intensity without juggling knobs.
- Connectivity: Wi‑Fi enabled for remote start via smartphone.
- Safety: Over‑heat sensor and leak detection alerts.
- Upgrade path: Add mood lighting or a Bluetooth speaker later.
Installing the Shower Base, Walls, and Custom Tile for a Luxury Look
Base Installation
Start with a pre‑sloped, cement‑backed shower pan that drains straight to the new trap. Level it perfectly—any wobble shows up when you step in.
Seal the edges with a high‑quality silicone that resists mildew. A quick finger‑press test will tell you if the seal is airtight.
Wall Assembly & Waterproofing
Attach a moisture‑resistant backer board (green board or cement board) to the studs, then tape the seams with fiberglass mesh. Don’t skip the tape—it’s the cheap trick that saves you from costly leaks.
Lay a liquid waterproofing membrane over the board, rolling it like you’d roll out dough. Let it cure fully before you move on; patience pays off in a dry bathroom.
Custom Tile – The Luxury Finish
Choose tile that screams “spa” without shouting “budget”. Large-format porcelain feels sleek, while natural stone adds texture.
- Large porcelain slabs – fewer grout lines, easier cleaning.
- Subway tiles in a staggered pattern – classic, timeless look.
- Textured mosaic accents – perfect for a steam‑ready niche.
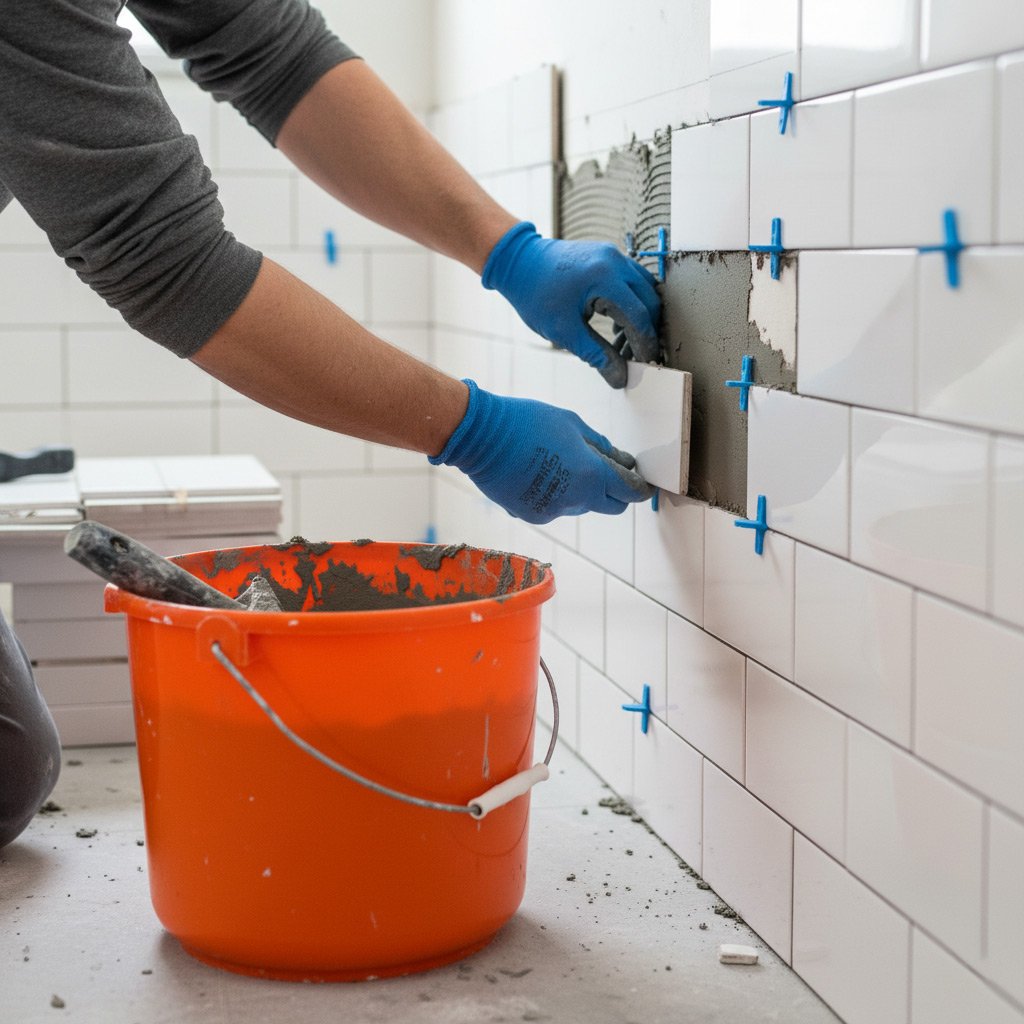
When you set the tile, use a thin‑set mortar designed for wet areas. Press each piece firmly, then wipe away excess before it hardens.
Finish with a high‑performance grout, seal it, and you’ve got a shower that looks like it belongs in a five‑star resort.
Case Study: Transforming a 1970s Sacramento Home’s Tub into a Modern Steam Shower
Before the Cut
The original bathroom was a relic from the ’70s: a cracked porcelain tub, faded tile, and a single‑handle faucet that leaked like a faucet in a rainstorm. The homeowner wanted a spa vibe without tearing down the whole house, so we scoped the space, measured the floor joists, and set a $12,500 budget that left room for a steam generator.
Demolition, Framing & Waterproofing
We ripped out the tub in under two hours, salvaging the plumbing for reuse. New 2×6 studs were added to support a custom shower pan, and a liquid‑applied waterproof membrane was rolled over the subfloor and walls. The key was to keep the membrane continuous—no seams, no shortcuts.
Finishing the Spa‑Ready Oasis
With the base set, we installed a 48‑inch quartz shower base, then tiled the walls in a 3‑inch subway pattern with a matte gray grout that hides water spots. The fixture package included:
- Steam generator with digital controls, wired to a dedicated 240‑V circuit.
- Rain‑shower head mounted 84 inches high for a waterfall feel.
- Handheld shower with a sliding bar for flexibility.
Within a week, the homeowner stepped into a steaming, rain‑kissed retreat that feels like a boutique spa—right in the heart of Sacramento. The upgrade added $30K to the home’s resale value, and the neighbors are already asking for the contractor’s number.
Final Thoughts: Maximizing
When you turn a dated tub into a steam‑ready shower, you’re not just adding luxury—you’re stacking equity. Buyers in Sacramento love the spa vibe, and a well‑executed conversion can add 5‑10% to your home’s market price.
Boosting Home Value
- Choose timeless tile colors; they sell faster.
- Install a low‑profile glass door to keep the space feeling open.
- Integrate a smart control panel; tech‑savvy buyers notice.
These three moves keep the bathroom looking fresh for years, so you won’t need a costly redo when you decide to move.
Keeping It Pristine
Steam can be harsh on grout, so seal it every 12 months. A quick squeegee after each shower wipes out water spots and extends the life of your fixtures.
Finally, don’t forget to check the Tub to Shower Conversions page for more ideas on how to squeeze every ounce of value out of your bathroom upgrade.
People Also Ask
What permits are required for a tub‑to‑shower conversion in Sacramento?
You’ll need a building permit from the City of Sacramento’s Planning Department, and if you’re adding plumbing or electrical components, separate permits for those trades are required. Always check the latest local code requirements before starting work.How much does it cost to convert an old tub into a spa‑ready shower?
Costs typically range from $8,000 to $15,000 depending on the size of the space, choice of luxury fixtures, and extent of waterproofing needed. Adding a steam generator or custom tile can push the budget toward the higher end.Can I install a steam generator in a retrofit shower?
Yes, a steam generator can be retrofitted as long as the shower enclosure is fully waterproofed and the framing can support the additional weight. Proper ventilation and a dedicated electrical circuit are also essential for safe operation.What waterproofing methods are best for Sacramento’s climate?
A combination of a liquid waterproofing membrane and a drainable backer board provides the most reliable protection against moisture. Make sure the system meets California Title 24 energy and water efficiency standards.How long does a typical tub‑to‑shower conversion take?
A professional crew usually completes the demolition, framing, waterproofing, and tile work in 2–3 weeks. Adding custom features like a steam generator or intricate tile patterns may extend the timeline by a few days.Sacramento Bathroom Remodel brings over a decade of specialized experience to homeowners across Sacramento, delivering tailored bathroom renovations that blend functionality with style. Their team of licensed craftsmen works closely with local clients to ensure each project reflects the unique character of the community. Committed to quality craftsmanship and transparent communication, they turn visions into lasting, livable spaces.
Need Bathroom Remodel?
We transform Sacramento bathrooms into functional, modern spaces in days, not weeks, serving ZIPs 95814, 95815, 95661, 95765, 95630. Our streamlined process minimizes disruption while delivering lasting quality.
Get Remodel Estimate